Heater Removal Services Overview
Visitors will learn about local contractors who handle heater removal services and how to compare options in their area.
- - Residential property owners seeking professional heater removal services to safely decommission outdated or malfunctioning units.
- - Commercial building managers needing reliable local contractors to handle heater removal during renovations or upgrades.
- - Property managers looking to connect with experienced service providers for efficient and compliant heater disposal or replacement projects.
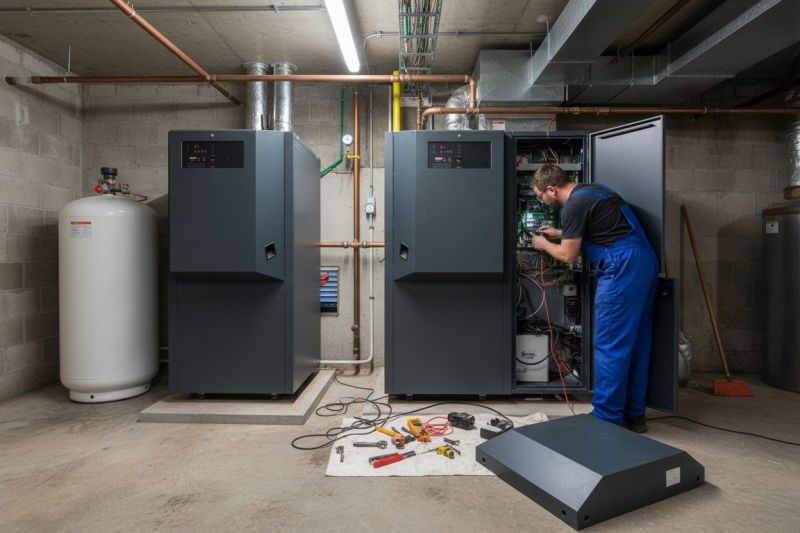
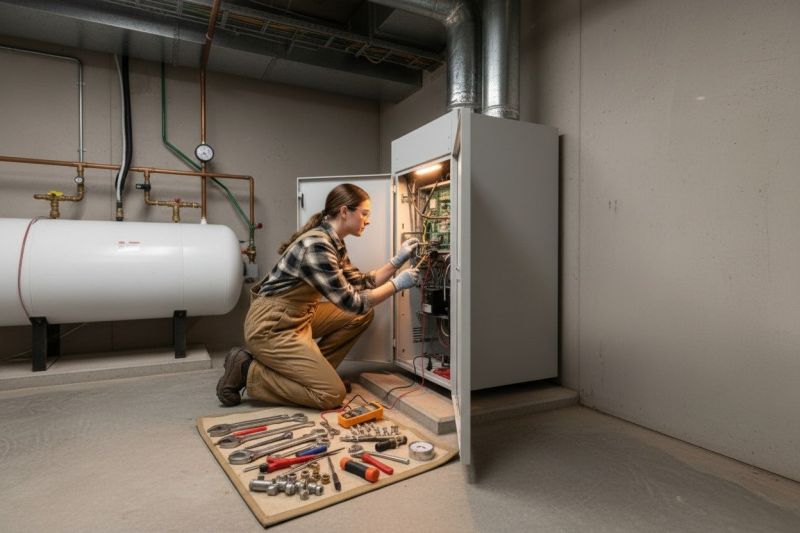
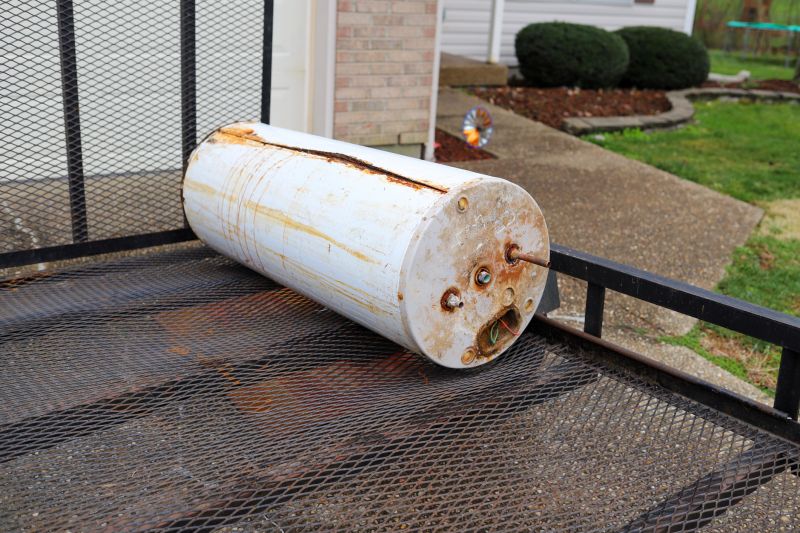
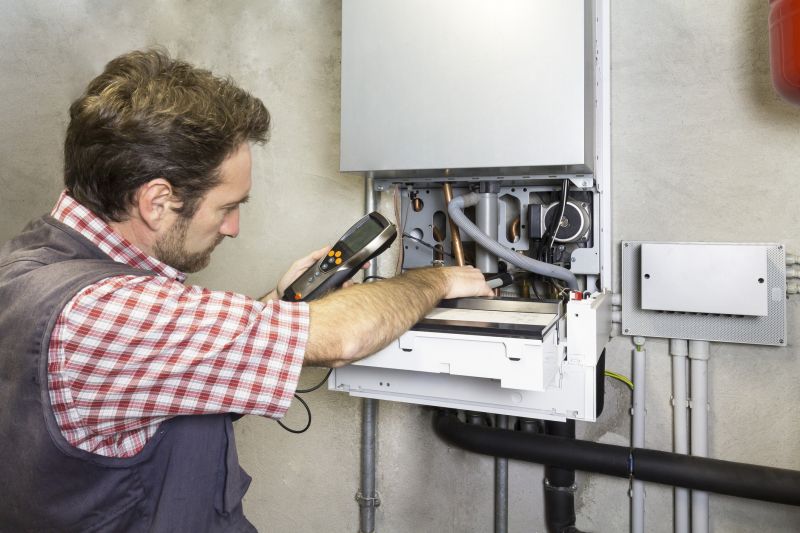
Heater removal services involve the safe and efficient dismantling of outdated or malfunctioning heating units from residential or commercial properties. Property owners may seek these services when upgrading to newer systems, addressing safety concerns, or clearing space for other installations. Local contractors who specialize in heater removal typically handle tasks such as disconnecting the unit, safely removing it from the premises, and ensuring that the surrounding area is left clean and ready for the next phase of installation or renovation.
These professionals are experienced in working with a variety of heater types, including traditional furnaces, boilers, or other heating appliances. When property owners need help with heater removal, they can expect to work with local service providers who understand the proper procedures for safe disconnection and removal. Connecting with qualified local contractors can make the process straightforward and ensure that the work is completed according to standard practices.
Heater Removal Services
Compare local contractors to find the right provider for your heater removal project.
Learn about different service options to make informed decisions for your home or business.
This guide provides helpful information to understand the process of heater removal and what to consider before hiring a service provider. It assists in comparing local contractors and gathering the basics needed to plan a project. The goal is to help visitors make informed decisions when connecting with local service providers for heater removal.